If you’ve decided to close your PiktID account, here’s a simple and complete walk-through to help you do it properly and avoid any leftover issues.
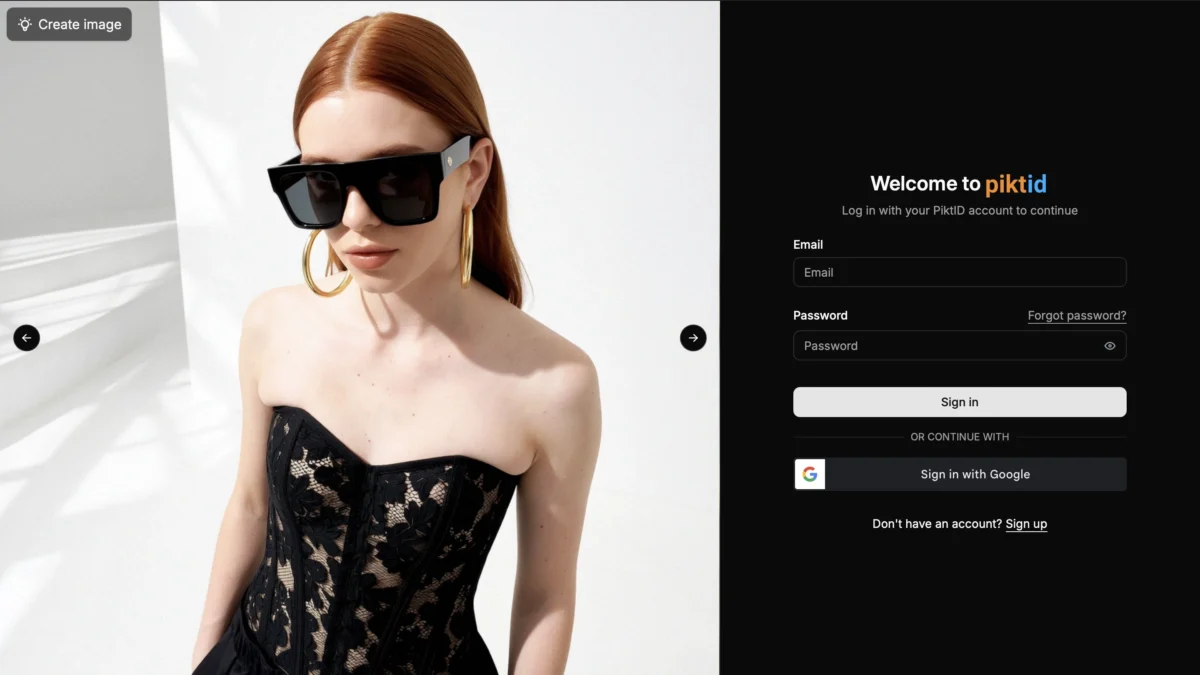
1. Sign in to your account
Go to: https://studio.piktid.com
Log in using your email/username and password. Make sure you have full access to your account before proceeding.
2. Check for any active subscriptions (very important)
If you have a paid subscription or active billing plan on PiktID, you must cancel it before deleting your account.
- Navigate to: https://studio.piktid.com/billing
- Review your billing page and cancel any active plan or subscription there.
This helps avoid being charged after your account is gone, and ensures your account deletion process is clean.
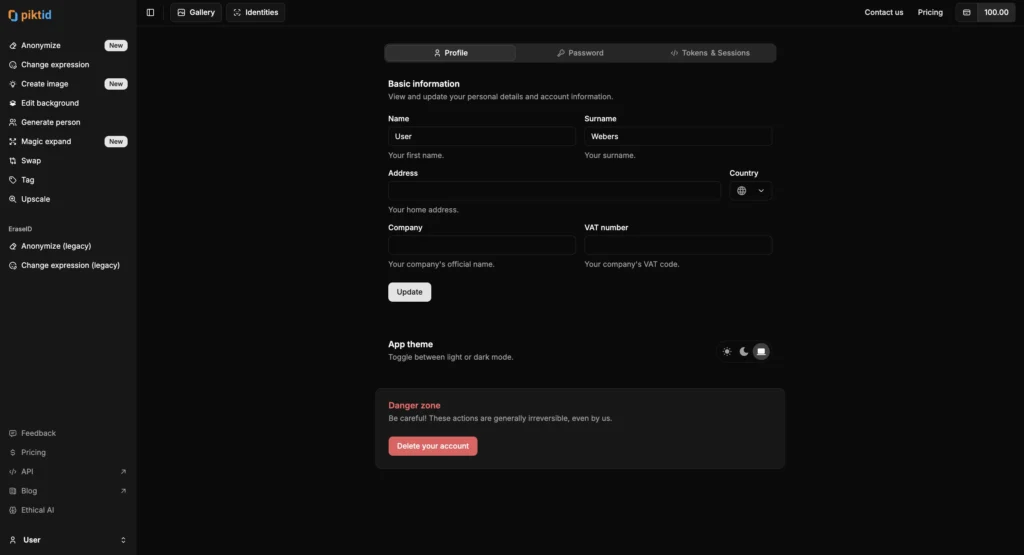
3. Go to “Profile”
Once your billing obligations are sorted, go back to your studio page and click on Profile ( found in the bottom-left side of the platform).
This brings you into your personal account settings.
4. Find the “Delete your account” button
Within the Profile settings, scroll until you see the button labelled “Delete your account”.
This is the one which initiates account closure.

5. Confirm the deletion via the pop-up
When you click Delete your account, a confirmation dialogue will appear asking you to type the phrase:
remove my account
Type it exactly as shown. This step ensures you really intend to delete your account.
6. Click “Continue” to finalize
After typing the confirmation phrase, click Continue. At this point your account will be scheduled for deletion. According to PiktID’s Terms of Service, once the deletion is complete:
- The account cannot be restored.
- All associated data will be deleted (unless legal requirements force retention).
🎯 Tips & Things to Know
- Backup your data: If you have any work, images, credits or other content in PiktID you might want to keep, export or download them before you delete your account.
- Ensure subscriptions are cancelled: As noted above, cancel billing first so you don’t get charged after the account is gone.
- Account deletion is permanent: Once completed, you will not be able to sign in again or recover your previous profile.
- Support contact: If something goes wrong (delete button missing, billing page issues, etc.), reach out to PiktID’s support for help.
- Unused credits: If you had paid credits or unused features, check how PiktID handles those in case you want to use them or cancel before deletion. According to the pricing page, plans are flexible and unused credits may roll over.

Why PiktID Has This Process
PiktID offers a streamlined account management experience: log in → check billing → profile → delete → confirm. The typed‐phrase confirmation reduces accidental deletions, and the billing check ensures subscriptions don’t continue after the account’s gone.
Our Terms of Service mention that users can “independently request the deletion of their PiktID account at any time under [MY PROFILE]” and that deleted accounts cannot be restored.
We are Sad to see you Go!
Deleting your PiktID account is fairly straightforward but heartbreaking — just make sure you don’t have any active subscriptions hanging, and follow the simple steps above. Once your account is deleted, you’re done.